Description:
Details:
Visit the Art3d Store
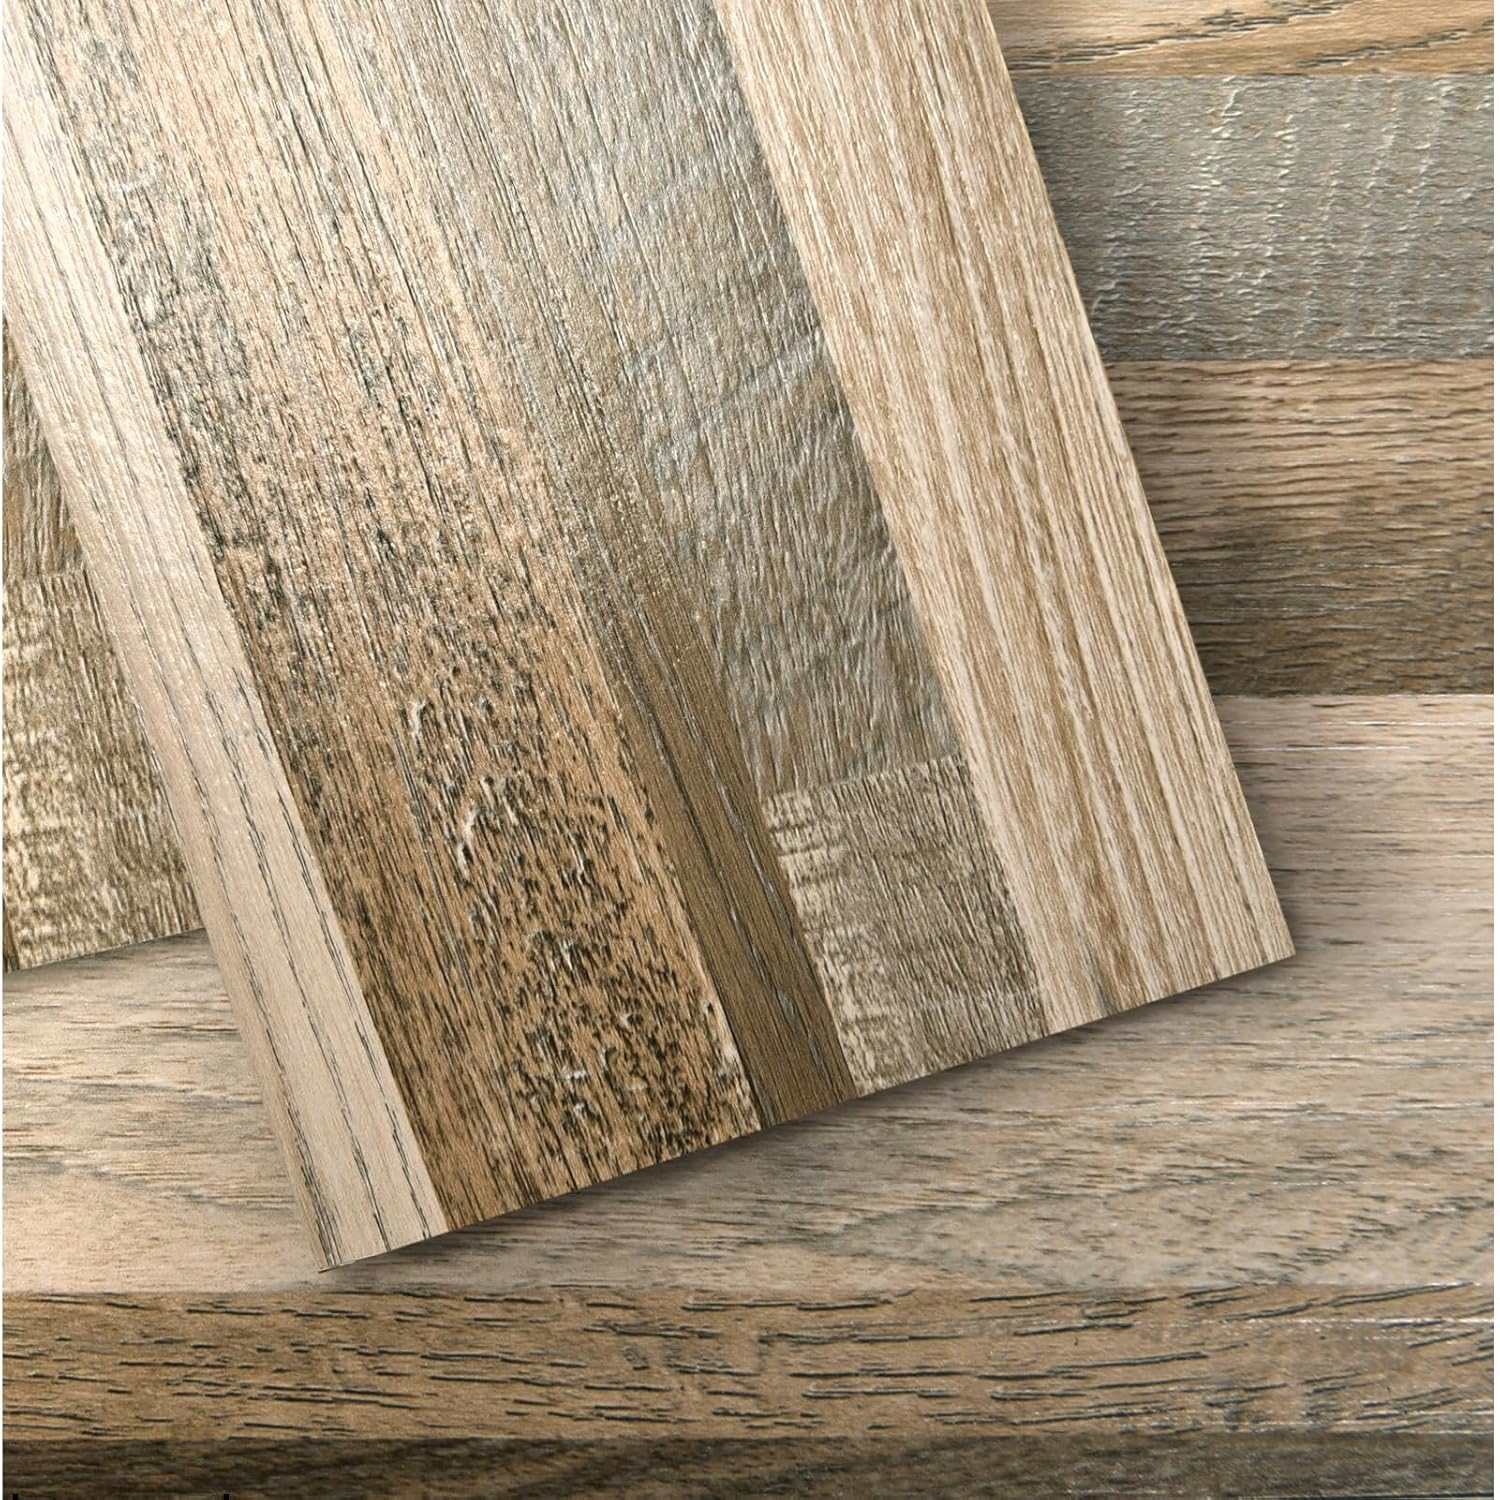
Art3d 36-Pack 54 Sq.ft Peel and Stick Floor Tiles Vinyl Plank Flooring Wood Look, Adhesive and Waterproof Tile Sticker for Bedroom, Living Room, Kitchen, RV in Aged Wood
 Imported From: United States
At BOLO, we work hard to ensure the products you receive are new, genuine, and sourced from reputable suppliers.
Every product in the BOLO catalogue is sourced through our Verified Global Supply Network of verified sellers, authorized distributors or directly from the manufacturer.
Each product undergoes thorough inspection and verification at our consolidation and fulfilment centers to ensure it meets our strict authenticity and quality standards before being shipped and delivered to you.
If you ever have concerns regarding the authenticity of a product purchased from us, please contact Bolo Support. We will review your inquiry promptly and, if necessary, provide documentation verifying authenticity or offer a suitable resolution.
Your trust is our top priority, and we are committed to maintaining transparency and integrity in every transaction.
While we strive to display accurate information, variations in packaging, labeling, instructions, or formulation may occasionally occur due to regional differences or supplier updates. For detailed or manufacturer-specific information, please contact the brand directly or reach out to BOLO Support for assistance.
Unless otherwise stated, all prices displayed on the product page include applicable taxes and import duties.
BOLO operates in accordance with the laws and regulations of United Arab Emirates. Any items found to be restricted or prohibited for sale within the United Arab Emirates will be cancelled prior to shipment. We take proactive measures to ensure that only products permitted for sale in United Arab Emirates are listed on our website.
All items are shipped by air, and any products classified as “Dangerous Goods (DG)” under IATA regulations will be removed from the order and cancelled.
All orders are processed manually, and we make every effort to process them promptly once confirmed. Products cancelled due to the above reasons will be permanently removed from listings across the website.
Similar suggestions by Bolo
More from this brand
Similar items from “Vinyl Flooring”
Share with
Or share with link
https://www.bolo.ae/products/UO0OOEPI8DL
Visit the Art3d Store
Art3d 36-Pack 54 Sq.ft Peel and Stick Floor Tiles Vinyl Plank Flooring Wood Look, Adhesive and Waterproof Tile Sticker for Bedroom, Living Room, Kitchen, RV in Aged Wood
Imported From: United States
At BOLO, we work hard to ensure the products you receive are new, genuine, and sourced from reputable suppliers.
Every product in the BOLO catalogue is sourced through our Verified Global Supply Network of verified sellers, authorized distributors or directly from the manufacturer.
Each product undergoes thorough inspection and verification at our consolidation and fulfilment centers to ensure it meets our strict authenticity and quality standards before being shipped and delivered to you.
If you ever have concerns regarding the authenticity of a product purchased from us, please contact Bolo Support. We will review your inquiry promptly and, if necessary, provide documentation verifying authenticity or offer a suitable resolution.
Your trust is our top priority, and we are committed to maintaining transparency and integrity in every transaction.
While we strive to display accurate information, variations in packaging, labeling, instructions, or formulation may occasionally occur due to regional differences or supplier updates. For detailed or manufacturer-specific information, please contact the brand directly or reach out to BOLO Support for assistance.
Unless otherwise stated, all prices displayed on the product page include applicable taxes and import duties.
BOLO operates in accordance with the laws and regulations of United Arab Emirates. Any items found to be restricted or prohibited for sale within the United Arab Emirates will be cancelled prior to shipment. We take proactive measures to ensure that only products permitted for sale in United Arab Emirates are listed on our website.
All items are shipped by air, and any products classified as “Dangerous Goods (DG)” under IATA regulations will be removed from the order and cancelled.
All orders are processed manually, and we make every effort to process them promptly once confirmed. Products cancelled due to the above reasons will be permanently removed from listings across the website.
Description:
Details:
Similar suggestions by Bolo
More from this brand
Similar items from “Vinyl Flooring”
Share with
Or share with link
https://www.bolo.ae/products/UO0OOEPI8DL