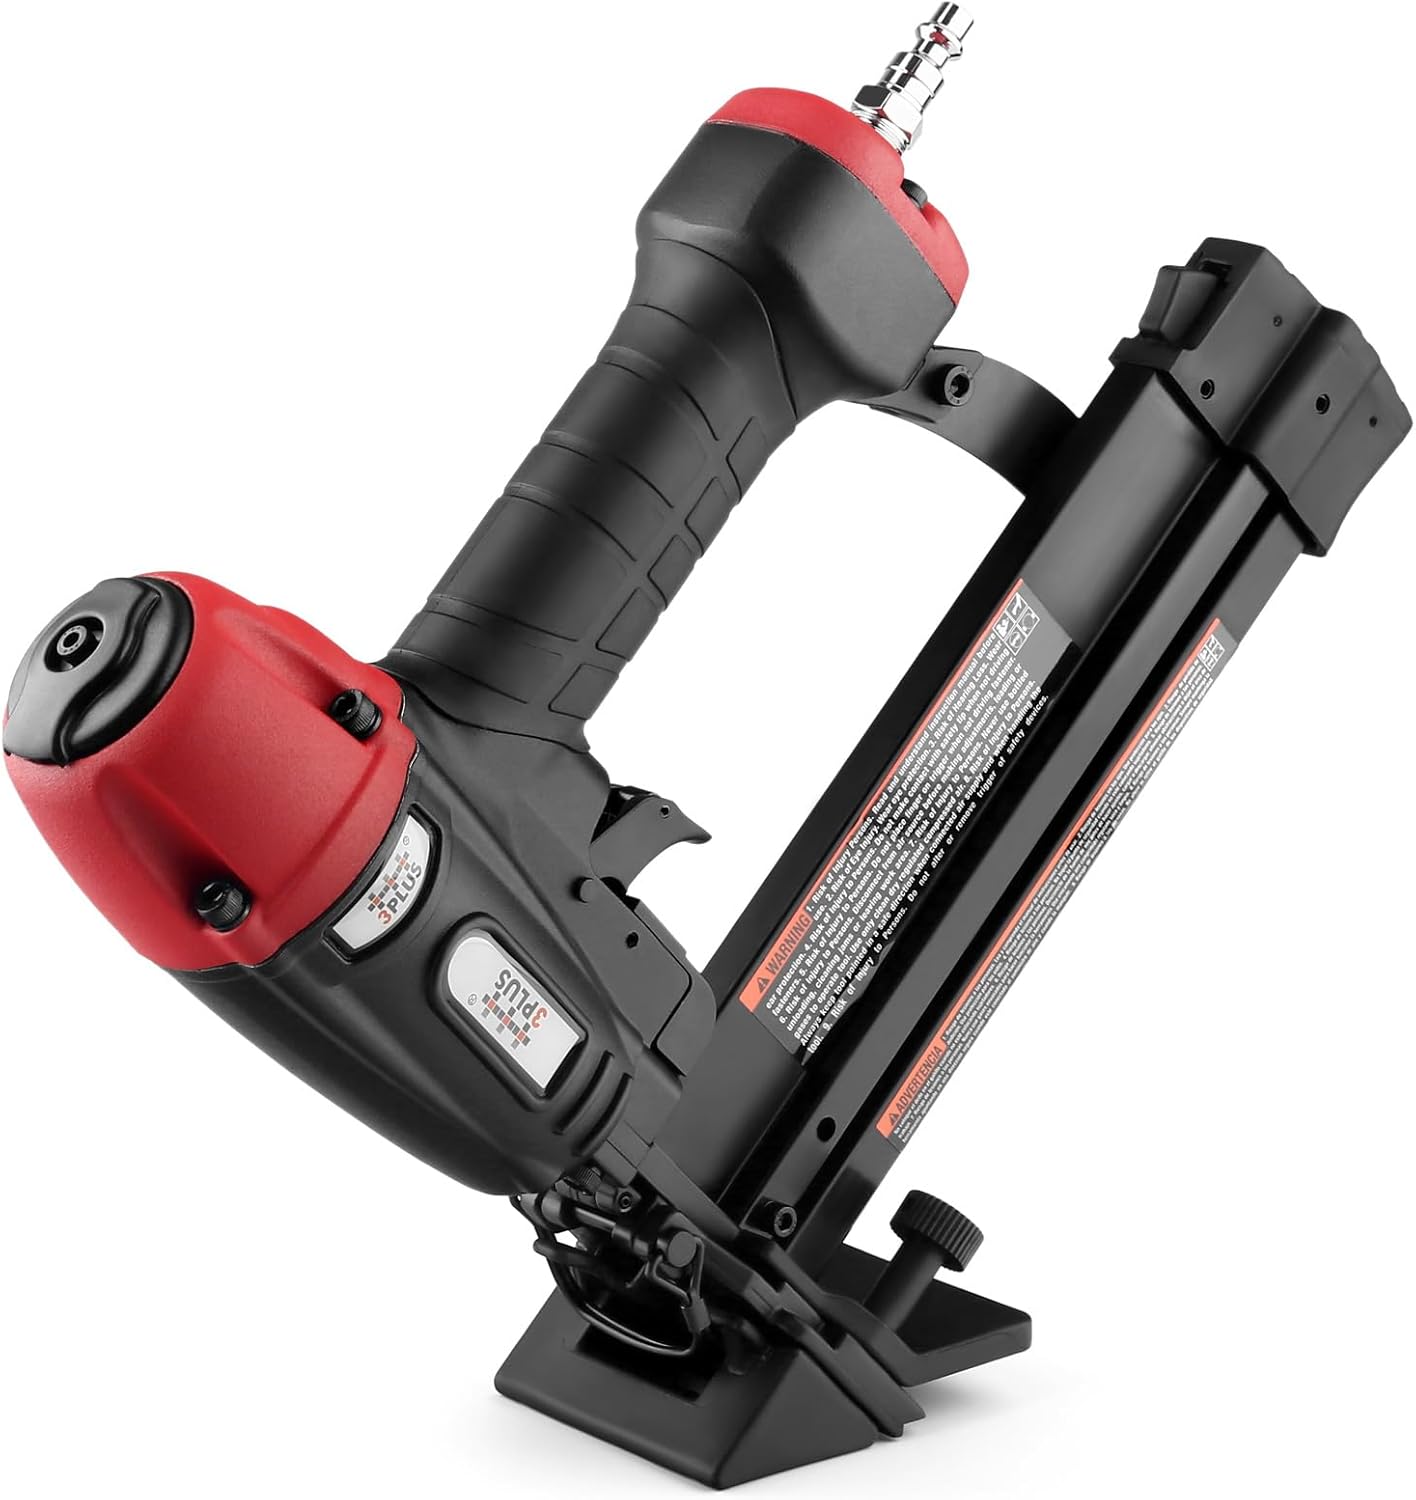
Description:
Details:
| Brand | 3PLUS |
|---|---|
| Color | Black and Red |
| Material | Alloy Steel, Aluminum, Rubber |
| Style | Modern |
| Operation Mode | Manual |
Visit the 3PLUS Store
3PLUS HFS509040SP 4-in-1 Pneumatic 18 Gauge Flooring Stapler/Nailer
AED56543
Quantity:
Order today to get by 7-14 business days
This item qualifies for free delivery
 Imported From: United States
At BOLO, we work hard to ensure the products you receive are new, genuine, and sourced from reputable suppliers.
Every product in the BOLO catalogue is sourced through our Verified Global Supply Network of verified sellers, authorized distributors or directly from the manufacturer.
Each product undergoes thorough inspection and verification at our consolidation and fulfilment centers to ensure it meets our strict authenticity and quality standards before being shipped and delivered to you.
If you ever have concerns regarding the authenticity of a product purchased from us, please contact Bolo Support. We will review your inquiry promptly and, if necessary, provide documentation verifying authenticity or offer a suitable resolution.
Your trust is our top priority, and we are committed to maintaining transparency and integrity in every transaction.
While we strive to display accurate information, variations in packaging, labeling, instructions, or formulation may occasionally occur due to regional differences or supplier updates. For detailed or manufacturer-specific information, please contact the brand directly or reach out to BOLO Support for assistance.
Unless otherwise stated, all prices displayed on the product page include applicable taxes and import duties.
BOLO operates in accordance with the laws and regulations of United Arab Emirates. Any items found to be restricted or prohibited for sale within the United Arab Emirates will be cancelled prior to shipment. We take proactive measures to ensure that only products permitted for sale in United Arab Emirates are listed on our website.
All items are shipped by air, and any products classified as “Dangerous Goods (DG)” under IATA regulations will be removed from the order and cancelled.
All orders are processed manually, and we make every effort to process them promptly once confirmed. Products cancelled due to the above reasons will be permanently removed from listings across the website.

REMOVING THE FLOORING SHOE

1. Disconnect the tool from the air supply. 2. Remove fasteners from the tool. Failure to do so will cause the fasteners to eject from the front of the tool. 3. Lift up the D-shaped pin to an upper location(Fig.1). 4. Pull down the quick release lever to release the flooring nose cover(Fig.2→Fig.3→Fig.4).

5. Pull open the D-shaped pin with force, and take it off the pin slot, and then remove the flooring nose cover(Fig.5→Fig.6→Fig.7). 6. Push the quick release lever back to the nose cover, and it becomes a regular 18 gauge nailer/stapler 2 in 1 tool, make sure the no mar tip is mounted.
INSTRUCTION OF FLOORING SHOE ADJUSTMENT

1. Take off the no mar tip(this is only for finish and trim works), no need to use the no mar tip for flooring installation. 2. Adjust the thumb wheel to the deepest depth location(Fig.9). 3. Loosen these shoe adjusting knobs to release the movable shoe and flooring contact piece in a flexible position. 4. Place the contact piece on top of hardwood flooring , and push the nailer towards the hardwood flooring(Fig.10). 5. Place the nose tip flush with the tongue corner of hardwood flooring. Once you are sure the contact piece is flush with the hardwood, and shoe is flush with the subfloor, fasten the adjusting knobs(Fig. 11). 6. Pull the trigger, the staple shoots through the tongue corner.
Similar suggestions by Bolo
More from this brand
Similar items from “Brad Nailers”
Share with
Or share with link
https://www.bolo.ae/products/UO01ZLSMC46
Visit the 3PLUS Store
3PLUS HFS509040SP 4-in-1 Pneumatic 18 Gauge Flooring Stapler/Nailer
AED56543
Quantity:
Order today to get by 7-14 business days
This item qualifies for free delivery
Imported From: United States
At BOLO, we work hard to ensure the products you receive are new, genuine, and sourced from reputable suppliers.
Every product in the BOLO catalogue is sourced through our Verified Global Supply Network of verified sellers, authorized distributors or directly from the manufacturer.
Each product undergoes thorough inspection and verification at our consolidation and fulfilment centers to ensure it meets our strict authenticity and quality standards before being shipped and delivered to you.
If you ever have concerns regarding the authenticity of a product purchased from us, please contact Bolo Support. We will review your inquiry promptly and, if necessary, provide documentation verifying authenticity or offer a suitable resolution.
Your trust is our top priority, and we are committed to maintaining transparency and integrity in every transaction.
While we strive to display accurate information, variations in packaging, labeling, instructions, or formulation may occasionally occur due to regional differences or supplier updates. For detailed or manufacturer-specific information, please contact the brand directly or reach out to BOLO Support for assistance.
Unless otherwise stated, all prices displayed on the product page include applicable taxes and import duties.
BOLO operates in accordance with the laws and regulations of United Arab Emirates. Any items found to be restricted or prohibited for sale within the United Arab Emirates will be cancelled prior to shipment. We take proactive measures to ensure that only products permitted for sale in United Arab Emirates are listed on our website.
All items are shipped by air, and any products classified as “Dangerous Goods (DG)” under IATA regulations will be removed from the order and cancelled.
All orders are processed manually, and we make every effort to process them promptly once confirmed. Products cancelled due to the above reasons will be permanently removed from listings across the website.
Description:
Details:
| Brand | 3PLUS |
|---|---|
| Color | Black and Red |
| Material | Alloy Steel, Aluminum, Rubber |
| Style | Modern |
| Operation Mode | Manual |
REMOVING THE FLOORING SHOE
1. Disconnect the tool from the air supply. 2. Remove fasteners from the tool. Failure to do so will cause the fasteners to eject from the front of the tool. 3. Lift up the D-shaped pin to an upper location(Fig.1). 4. Pull down the quick release lever to release the flooring nose cover(Fig.2→Fig.3→Fig.4).
5. Pull open the D-shaped pin with force, and take it off the pin slot, and then remove the flooring nose cover(Fig.5→Fig.6→Fig.7). 6. Push the quick release lever back to the nose cover, and it becomes a regular 18 gauge nailer/stapler 2 in 1 tool, make sure the no mar tip is mounted.
INSTRUCTION OF FLOORING SHOE ADJUSTMENT
1. Take off the no mar tip(this is only for finish and trim works), no need to use the no mar tip for flooring installation. 2. Adjust the thumb wheel to the deepest depth location(Fig.9). 3. Loosen these shoe adjusting knobs to release the movable shoe and flooring contact piece in a flexible position. 4. Place the contact piece on top of hardwood flooring , and push the nailer towards the hardwood flooring(Fig.10). 5. Place the nose tip flush with the tongue corner of hardwood flooring. Once you are sure the contact piece is flush with the hardwood, and shoe is flush with the subfloor, fasten the adjusting knobs(Fig. 11). 6. Pull the trigger, the staple shoots through the tongue corner.
Similar suggestions by Bolo
More from this brand
Similar items from “Brad Nailers”
Share with
Or share with link
https://www.bolo.ae/products/UO01ZLSMC46